As I mentioned in my last post, I participated in the Handmade Gift Exchange over at
Craftaholics Anonymous. I was paired with the fabulous Angela over at
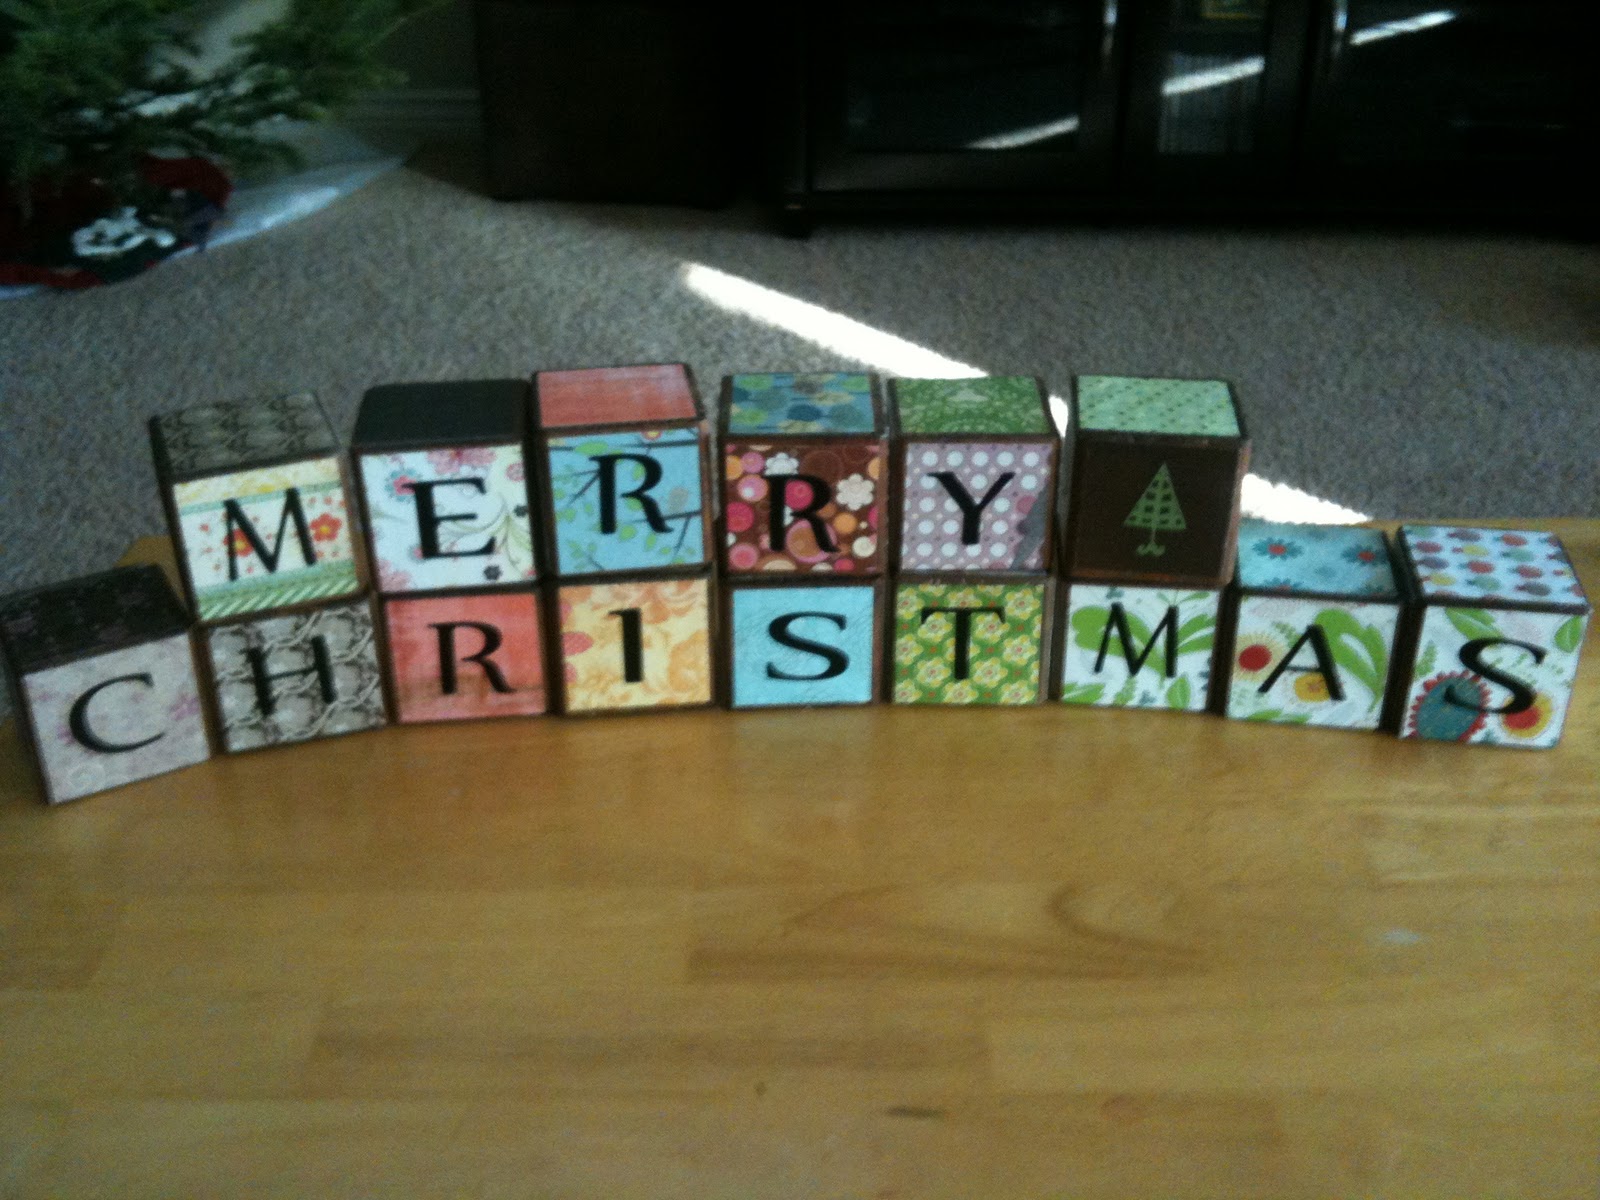
Comfie Corner Crafts. I decided to make her these blocks I saw at a friends house awhile back. I've been wanting to make them for myself but still haven't gotten around to it. (Isn't that how it always turns out?)
Anyway, I've gotten a lot of great feedback on the blocks from my friends and family, I decided to do my first tutorial! And yes, I'm going to make these again.
First off, you start with 15 square blocks. You can do 2 1/2x2 1/2 or 3x3, whatever size you prefer. I think I used 3x3. I went to Lowe's and had them cut my wood down to size. I know places such as Wood Connection has square blocks already pre-cut, but are a little more expensive. Lowes does not charge to cut the wood.
Before you start your project, of course, you need to sand, sand, sand. This by far was the most time consuming part of the whole thing. You may want to use a power hand sander... I definitely will for the next time around. 15 blocks is a lot to sand... just saying.
Next, stain the blocks using a darker color stain. You really only need to do the edges because you are going to cover the sides in cute scrapbook paper.
After your stain has dried, cut your scrapbook paper down to size. On this one, I chose to put the same paper on the front and back, then another paper on the 2 sides, and another paper on the top. I think the next time I do it, I'm going to use the same paper on all 4 sides, then a different paper on the top. You can deifnitely do this anyway you want. I like the look of seeing the paper on top that you are using on the sides as well. It brings all the blocks together.
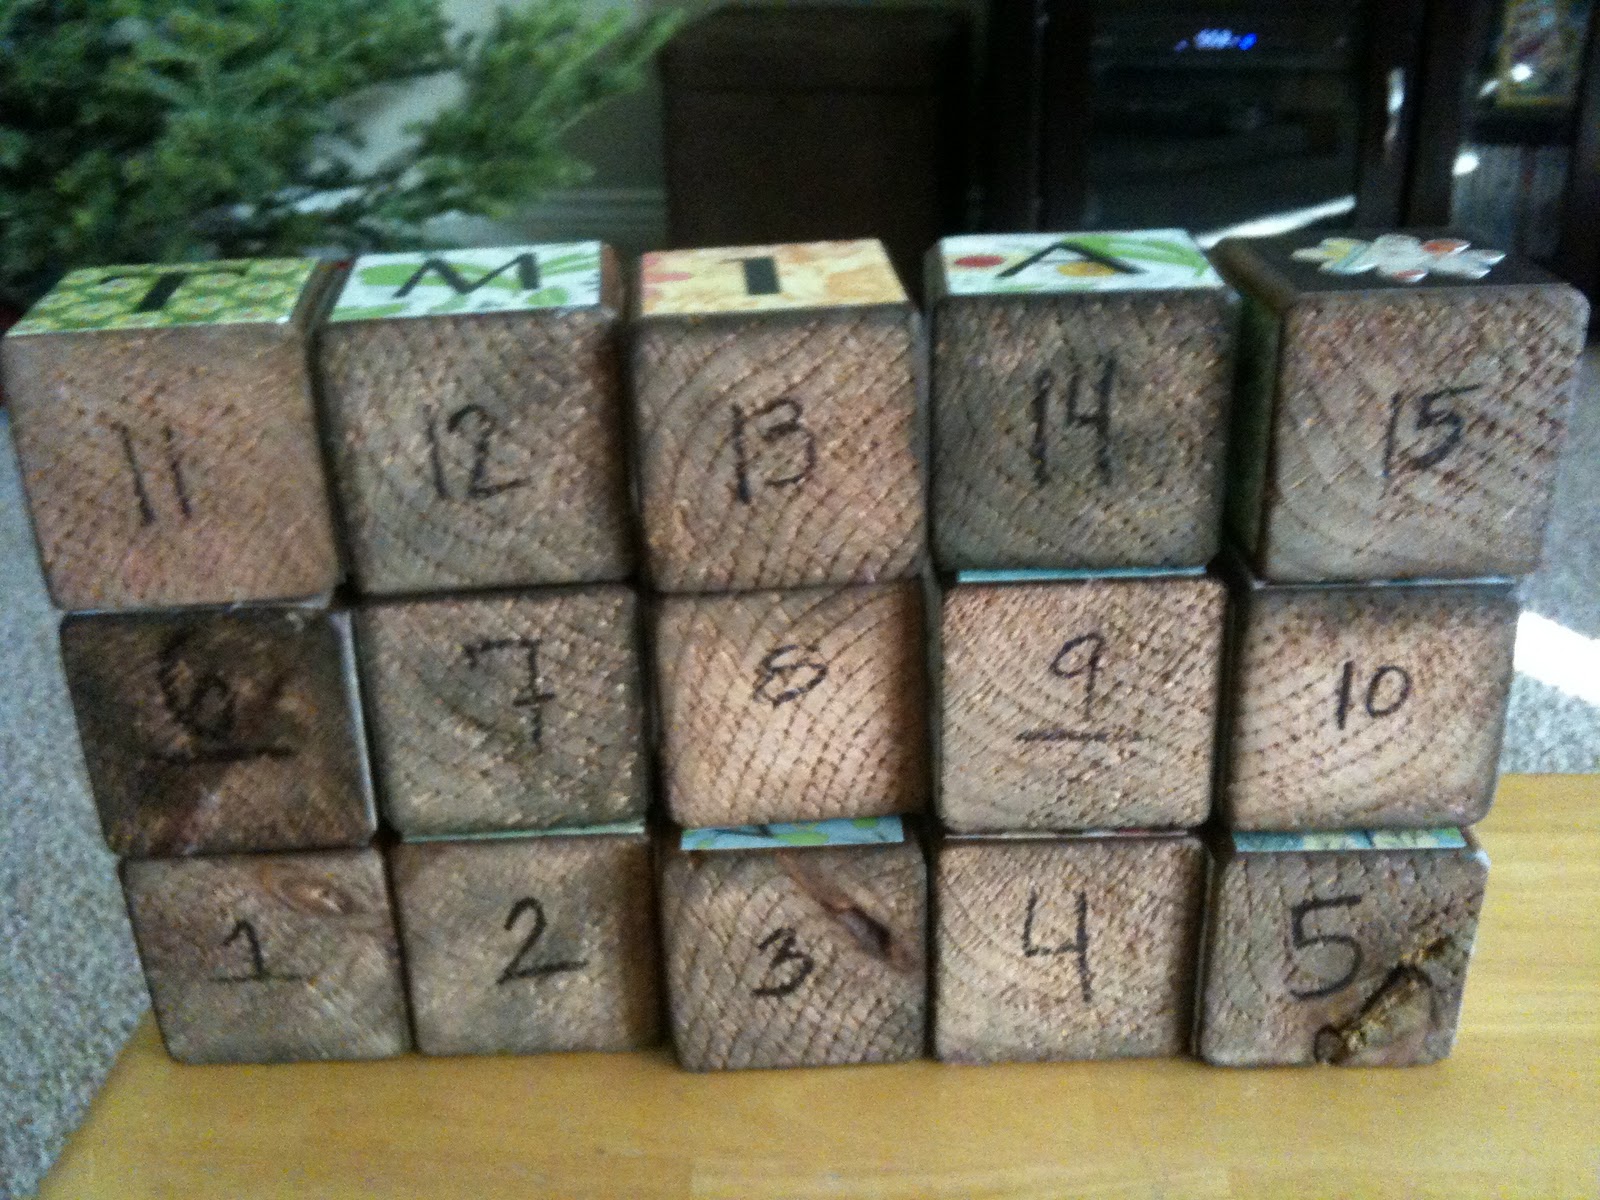
(In my opinion.) Be sure not to cover the bottom, you need to write the number of the block on it. Also, because your blocks can be used YEAR ROUND, you probably want to avoid the seasonal paper prints.
Once you are done Mod Podge-ing the paper on, it's time to cut the
letters. By this point, I was ready to be done. I wont lie. I used my trusty
NEW Cricut
(yes, I got a new one on Black Friday!) and I cut the letters out of vinyl using the Sure Cuts A Lot program.
(If I haven't said it enough, I LOVE SCAL!) If you dont have this awesome program, you can use any letter cartridge or even just print and cut the letters out yourself. If you don't use vinyl, just use your trusty Mod Podge again and glue them on. I did this for the Christmas Tree and the other decals I wanted in a different color. Also, I used black for my letters, you can use any color you want. If you are lazy like me and decide to use vinyl, it might be a good idea to paint over them with Mod Podge (which I didn't do because again, I was ready to be DONE! HAHA.)

As you are glueing/putting your letters on each block, be sure to number the bottom of each block. With the #'s 6 and 9, be sure to underline which the bottom is so you dont get them mixed up.
Once you are done, you can use the
free downloadable cheat sheet to see what letter combinations will spell what! Below is another Christmas-y saying that you can create with your new blocks!! Check out the cheat sheet for other ideas. You can use them YEAR ROUND!